WordPress
WordPress GPL’nin altında lisanslı ve Php ve MySQL üzerine kurulmuş iyi inşa edilmiş bir kişisel yayımlama sistemi arzusundan doğmuştur. Bs/Cafelog’un yerine resmi olarak gelmiştir. WordPress taze bir yazılımdır, kökleri ve gelişimi 2001’e kadar uzanır. Olgun ve kalıcı bir üründür. Umarız ki, web standartlarına odaklanarak ve kullanıcı tecrübeleriyle, mevcut herhangi bir araçtan farklı bir araç yaratabiliriz.
WordPress “Hakkında Sayfası”
WordPress kullanım, hıza, geniş kullanıcı tecrübesine ve rahatlığına odaklanmış bir yayım yazılımıdır. WordPress açık kaynak (open source) yazılımın kalbi olan aktif bir komüniteyle kutsanmıştır.
Özellikler
WordPress güçlü bir kişisel yayım platformudur ve internette bir yayımcı olarak sizin tecrübenizi mümkün olduğu kadar güzel ve çekici hale getirmek için tasarlanmış muhteşem bir özellikler setiyle gelmektedir.
Size özgürce dağıtımı yapılan, sorunsuz standartlarda, hızlı, hafif ve kişisel, duyarlı varsayılan ayarlarıyla ve özellikleriyle ve tamamen istenilen özelliklere göre değiştirilebilir çekirdeğiyle bir yayım platformu sunmaktan gurur duyuyoruz.
Kurulum:
adım 1: Wordpres i inndirin.
adım 2 : Daha Sonra ftp den wordpress i olduğu gibi ftp ye atın..
adım 3 : WordPress için Bir Db oluşturun.. (örnek db : üyeadınız_db)
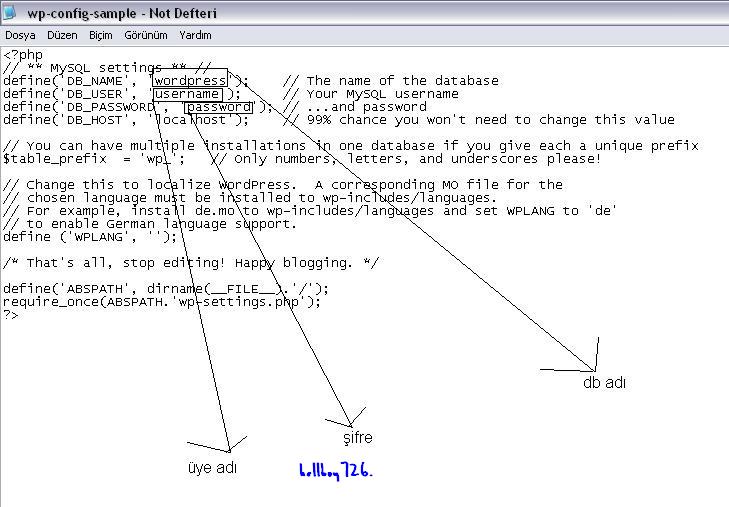
adım 4 : Wp-config-sample.php dosyasını açınız..ve düzenlemeleri aşağıda ki resme göre yapın..tekrar ftp ye atın.
Resim(adım4) :
adım 5 : tarayıcınıza siteniz.com/wp-admin/install.php yazın çıkan ekranda first step e basın…
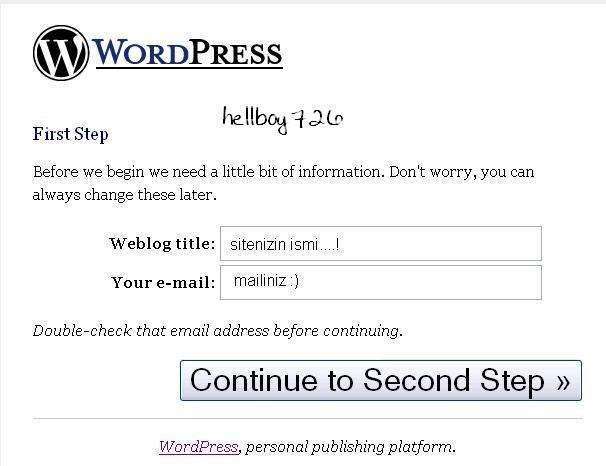
adım 6 : first step dedikten sonra ki çıkan ekranda ki yerleri resme göre doldurun… ve devam edin..
Resim(adım6) :
adım 7 : sitemiz Kuruldu çok kolay dimi ?  site bilgileriniz aşağıda ki resim de ki gibi karşınıza gelir..
Resim(adım7) :
adım 8 : Wp-admin/install.php yi silin..
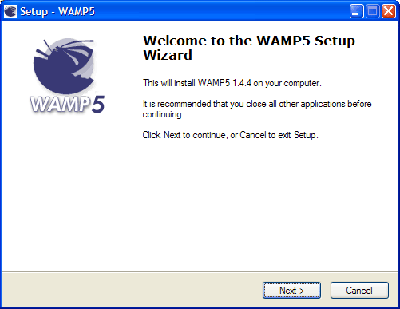 The installation process is very straightforward. First we choose a destination directory. The default is ideal.
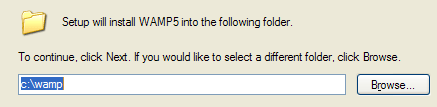 Next we choose whether to automatically start WAMP. You can tick this if you want, but Apache and MySQL make heavy use of system resources and we don’t always need them running. It is much better to start the software on demand, and so leave this option unchecked.
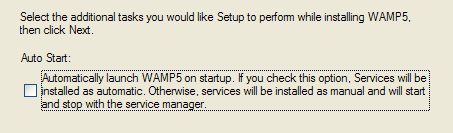 The software will now install.
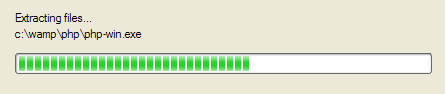 After all the files are extracted we are asked for the DocumentRoot directory. This is the root directory for your website and will contain WordPress and any other files you want accessible through the webserver. Unless you have a specific reason, go with the default.
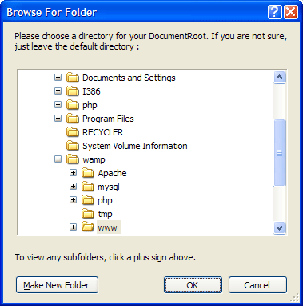 Next we are asked for the default browser. Your choice here is not really important, so pick whichever browser you prefer.
 And that’s it! We now have a fully working webserver on our computer. This same software is used in hundreds of thousands of websites across the world. We also have MySQL to provide our database, and Php to run WordPress.
 RemoteDLL is the tool which allows you to inject the DLL or free the DLL from the remote process. This tool is based on the popular DLL Injection technique which has already been used in antivirus and antispyware applications. This is the common technique used by virus and spyware programs to hide their presence on the system. These programs inject themselves to a legitimate Windows process such as explorer.exe and operate from that process so the that normal user will not suspect its presence. RemoteDLL makes it easy to find and remove such programs from the victim process using same technique.