We generally become WordPress users to create a blog for everyone to see. This can involve the purchasing of a domain name and web hosting. These we treat as black boxes on which the WordPress software is installed, and everything magically works. This is exactly how it should be.
Although WordPress provides a comprehensive management interface, there are times when it would be better to have our own local copy, running on our own machine. There are several reasons we would want to do this:
- A working backup of our online site
- A development site to develop plugins and themes without affecting our online site
- A testing area to try out hacks and new versions of WordPress without fear of corrupting the live site
- A staging area to create and verify posts, before releasing them live
Just like in a commercial environment, it helps separate our blog into two parts: production and development, or live and test. Our production blog is the one that is visible to everyone. It might not contain the latest information or the most up-to-date software, but it is fully working and error free. Contrast this to a development blog where we have the very latest software and information, but possibly not fully working.
Separating our site gives us the freedom to experiment without fear of destroying the working version. At the very worse, if the development blog is corrupted we simply re-install the software, and the only loss is our own time. If we corrupt the production site then no one can access our information and we lose visitors.
In writing a set of articles dissecting a WordPress theme, I realised that a lot of people are directly editing their live site. There are many reasons for this, but a good one is probably due to the difficulty in setting up a local system. This is a short guide to try and explain how to do just that.
Installing the server software
WordPress requires several pieces of software:
- A webserver
- Php configured to work through the webserver
- A MySQL database
None of these are particularly simple pieces of software, and all require configuration to work together. Fortunately there is a lovely software suite called WAMP that packages these together and adds a nice front-end. This is definitely the fastest and easiest way to get it working.
Consequently, the first task here is to Download the latest WAMP. Note that this only works on Windows 2000/XP, so I’m afraid you are out of luck if you have anything earlier.
Installing WAMP
Once the software is downloaded we can begin to install it:
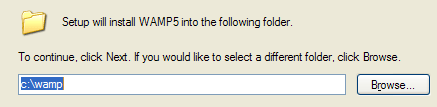
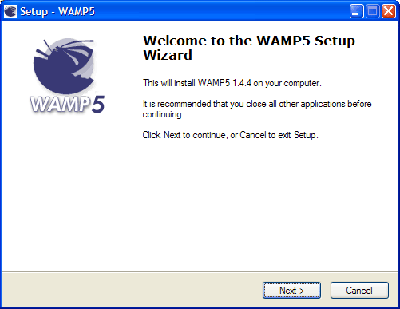 The installation process is very straightforward. First we choose a destination directory. The default is ideal.
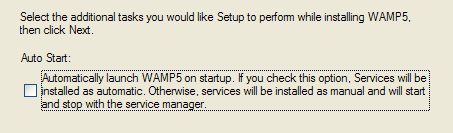
 Next we choose whether to automatically start WAMP. You can tick this if you want, but Apache and MySQL make heavy use of system resources and we don’t always need them running. It is much better to start the software on demand, and so leave this option unchecked.
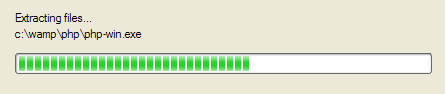
 The software will now install.
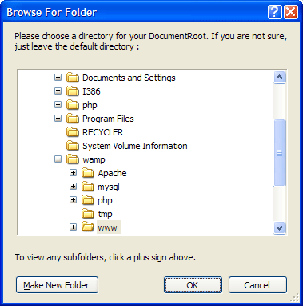
 After all the files are extracted we are asked for the DocumentRoot directory. This is the root directory for your website and will contain WordPress and any other files you want accessible through the webserver. Unless you have a specific reason, go with the default.
 Next we are asked for the default browser. Your choice here is not really important, so pick whichever browser you prefer.
 And that’s it! We now have a fully working webserver on our computer. This same software is used in hundreds of thousands of websites across the world. We also have MySQL to provide our database, and Php to run WordPress.